


Oh, hey Spring! We are so glad you are here! Spring happens to be my favorite season for many reasons: pastel colors, flowers, beautiful weather, flowers, iced tea and oh, did I mention flowers? I am going to share with you how I arrange flowers around my house featuring my favorite vases from West Elm Dadeland (they just got in a new collection after I did this post, and I kind of died). Let’s get started!
Step 1: Find beautiful vases —-check! West Elm Dadeland.
Step 2: Find a local grocery store or flower market to find the perfect blooms. I usually go to Whole Foods, Trader Joes, or this perfect little cart on the side of the road that I found in Coconut Grove (best flowers ever! I found Ranunculus and vintage Hydrangeas!).
Step 3: Arrange all of the tools needed.
– Scissors or Shears
-Water


Step 4: Fill water to the half way mark of the vase, never all the way up. We don’t want to let the leaves or shrub of the flowers to touch the water because it will make it murky, which leads me to Step 5.
Step 5: Remove any unnecessary leaves or weeds that will touch the water. Murky water = ugliness. And we don’t like ugliness.


Step 6: Cut the flowers at an angle. It’s proved that they absorb the water faster.

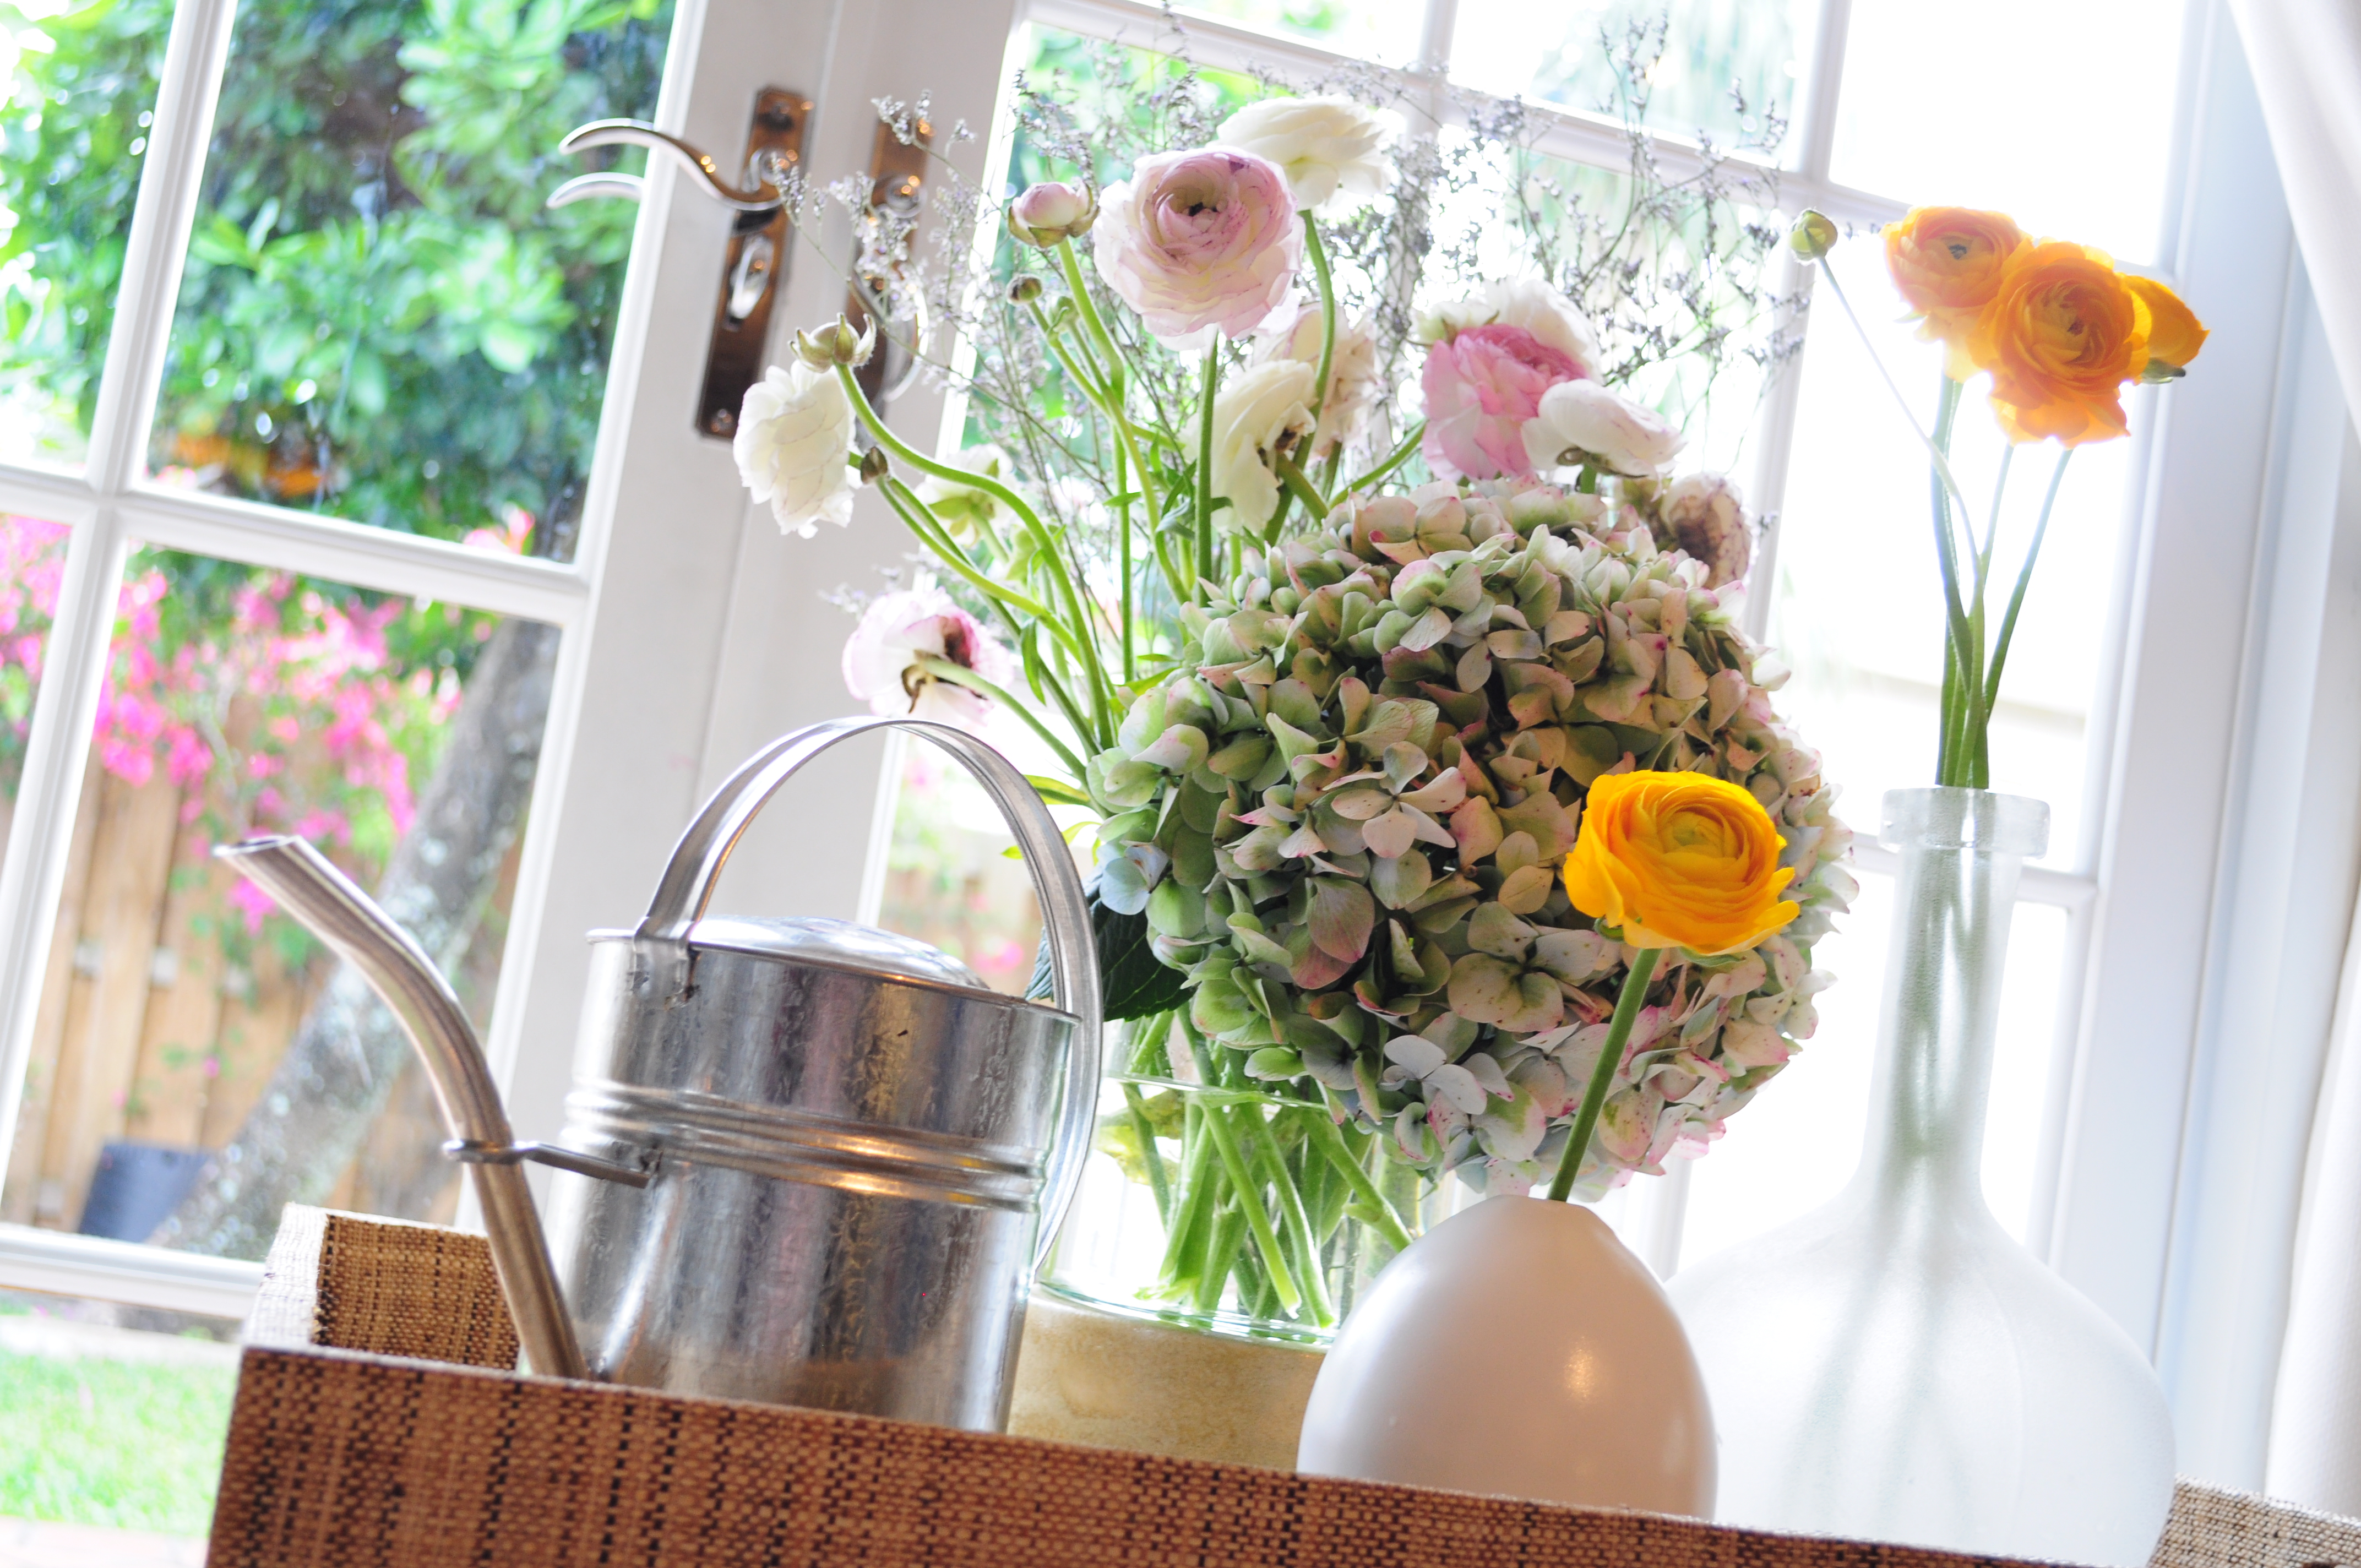
Step 7: Place a flower that can be your “base flower.” These are usually large and fluffy and can be used to create a solid foundation for your bouquet. I used this vintage hydrangea stem.
Step 8: Pick a “focal flower”- the largest bloom in your arrangement (basically the “star” of the show”). I picked Ranunculus, because they are awesome and almost remined me of paper flowers. Place them around, or in this case, behind your base flower. The base will support them and not make them fall over.


Step 9: And finally, add your “Bits”- the finishing touch to your bouquet. Basically, these are just used as fillers to fluff up your arrangement and make it look full and complete. Baby’s Breath is a very popular filler but I used this pretty lavender version to add some depth and color to my pallet.

Sometimes, you don’t want to do all that work because you are pressed for time OR you just want to add MORE flowers to your area of the home without making it look like a greenhouse. I’ve got your solution for both. Add simple and small vases.

Sometimes all you need is one simple flower in a beautiful vase to make a statement.

Or you can add two or three to a vase and vary the sizes. The possibilities are endless! Make it your own!


Voilå! You have yourself a beautiful expression of Spring in your home!
West Elm Dadeland Vases (1, 2) Tray, Table, Watering Can and Shears.
Outfit: J.Crew Top, Pants and Flats. Lipstick: MAC’s “Candy Yum Yum”
Photos by Carolyna Padron

![]()
Great blog
Thank you Kerry!
great decor. its perfect for spring!